Overview
The Autype VS Code Extension lets you write reports, papers, invoices, API docs, and any other document using an extended Markdown syntax. Render a live PDF preview side-by-side with your editor, then export to PDF, DOCX, or ODT with a single click. Free to use — sign up at app.autype.com and get your API key in seconds.Demo
What You Can Build
Autype goes far beyond plain Markdown. Write professional documents with:- Charts — bar, line, pie, doughnut, radar, scatter, bubble, polar area
- Math equations — LaTeX syntax rendered as images (
$$E = mc^2$$) - Styled tables — captions, colored headers, alternating rows, images in cells
- Code blocks — syntax-highlighted, optionally rendered as images
- Table of Contents — auto-generated from headings with page numbers
- List of Figures / Tables — auto-numbered figure and table indices
- QR codes — URL, WiFi, vCard
- Page layouts — page breaks, orientation changes, spacers, cover pages
- Multi-column layouts — two- or three-column sections (like academic papers)
- Variables — dynamic placeholders like
{{companyName}}or{{date/DD.MM.YYYY}} - Cross-references — link to headings, figures, and tables by anchor
- Headers & footers — with page numbers, logos, and dynamic content
- Images — local images auto-uploaded with hash-based caching
Getting Started
1
Install & Sign Up
Install the extension from the VS Code Marketplace. Create a free account at app.autype.com and copy your API key (starts with
ak_).2
Set Your API Key
Run Autype: Set API Key from the command palette (
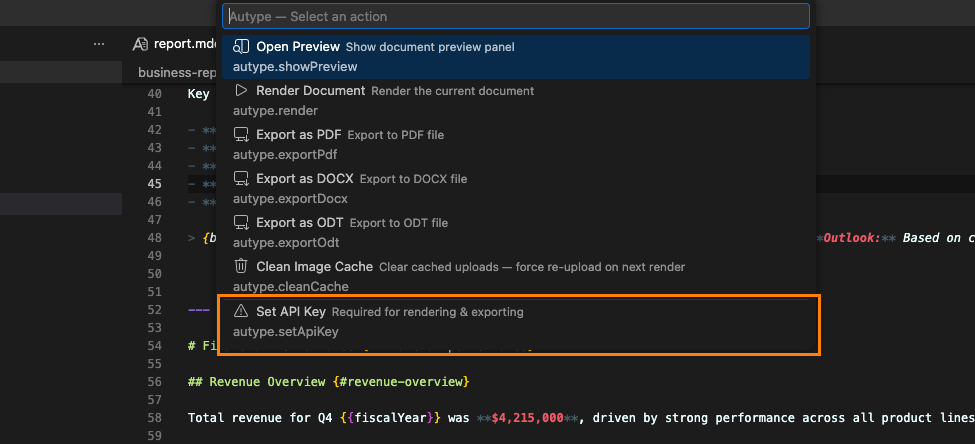
Ctrl+Shift+P / Cmd+Shift+P), or click the Autype button in the VS Code status bar and select Set API Key. The key is stored securely in VS Code’s secret storage.3
Create a Project
Create a folder with an Or right-click any folder in the Explorer and select Autype: Create New Document to scaffold a project automatically.
autype.json config file and a .md content file:4
Configure autype.json
5
Open the Preview & Export
Open any 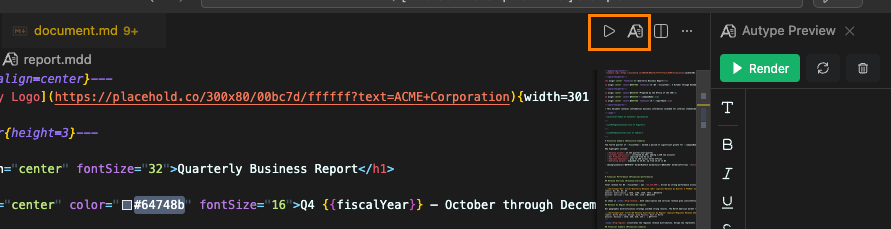 Click Render to generate the PDF, then Ctrl+Scroll (Cmd+Scroll on macOS) to zoom. Choose a format from the dropdown and click Export.
.md file in the project folder, then click the Autype icon in the editor title bar (or run Autype: Show Preview).Click Render to generate the PDF, then Ctrl+Scroll (Cmd+Scroll on macOS) to zoom. Choose a format from the dropdown and click Export.Features
Live PDF Preview
Render your document and view the result side-by-side with the editor. The preview uses PDF.js for fast, native rendering with text selection and zoom.Insert Toolbar
A vertical toolbar next to the preview gives you one-click access to all formatting options — headings, bold, italic, underline, strikethrough, highlight, links, images, tables, code blocks, math, charts, QR codes, variables, page breaks, columns, TOC, and more.Auto-Rerender
Enable auto-rerender to automatically re-render the preview whenever you edit the Markdown orautype.json. 10-second cooldown between renders.
Syntax Highlighting
The extension registers a dedicatedautype-markdown language for .mdd files with a custom TextMate grammar that highlights Autype-specific syntax like variables ({{name}}), page breaks, directives, and more.
Image Caching
Local images are uploaded to the Autype API with SHA-256 hash-based deduplication. Unchanged images are not re-uploaded, making repeated renders fast.Commands
Settings
Plans & Pricing
All VS Code extension features are available on every plan, including Free. Rendering and exports consume credits from your monthly allowance.
See Pricing for credit details.
Example Projects
The extension ships with three example projects in theexample/ folder:
business-report/— A quarterly business report with TOC, list of figures, charts, styled tables, and imagesapi-documentation/— REST API documentation with code blocks, endpoint tables, and request/response examplesscientific-paper/— A two-column academic paper with equations, citations, bibliography, and figures