
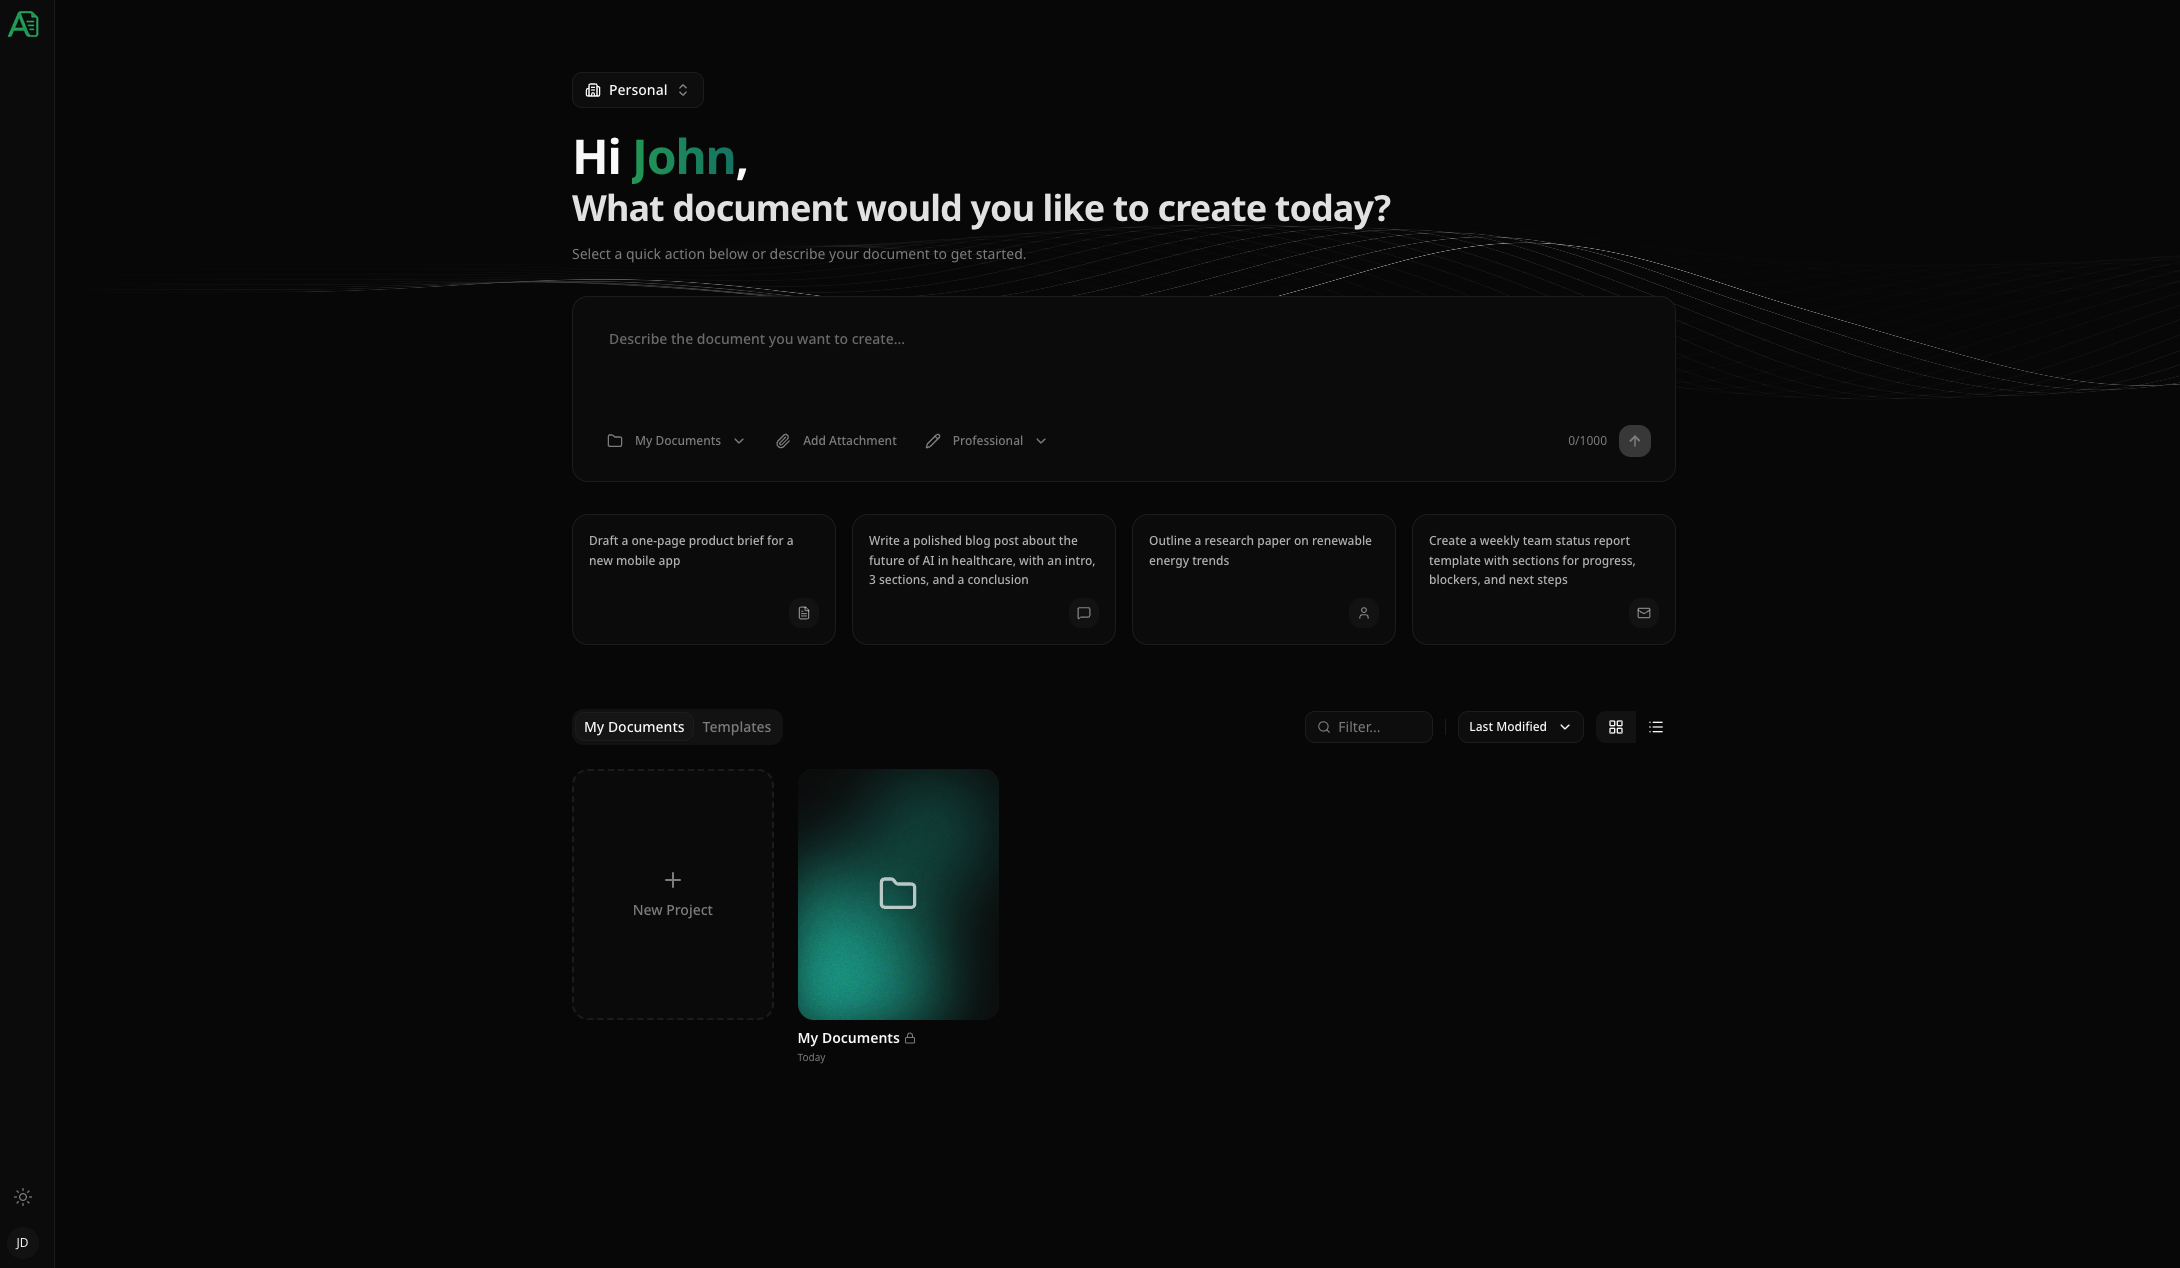
AI document generation
At the top of the workspace, you’ll find the AI input field — describe the document you want to create and Autype generates it for you.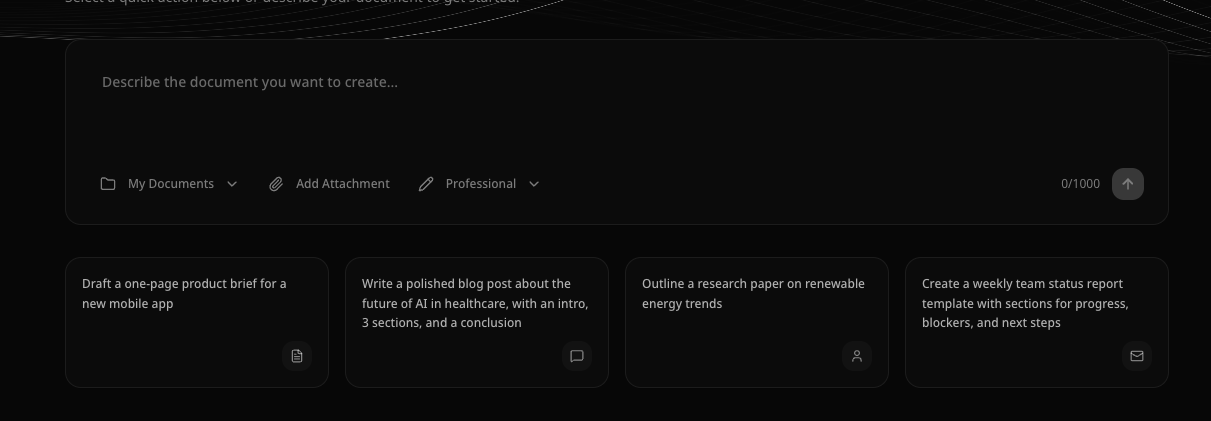
How to generate a document
- Select a project — choose the target project from the folder dropdown (bottom-left of the input)
- Describe your document — type a prompt like “Create a business proposal with executive summary, problem statement, solution, and pricing”
- Choose a writing style — select from Professional, Academic, Casual, or Technical
- (Optional) Attach files — attach up to 5 source files (PDF, DOCX, Excel, CSV, Markdown, text, JSON, or images) as reference material
- Choose a document style — optionally select a reusable workspace or built-in style; otherwise the agent selects or creates a suitable style
- Reference an existing document — type
/in the prompt and choose a document with the keyboard or mouse - Click the send button — the agent may ask focused questions before it creates the document; open the result when generation completes
Successful AI document generations use the monthly document allowance of
your plan. Automation credits are used only for Developer API and bulk jobs.
See Pricing.
Quick prompts
Below the input field, four prompt cards offer ready-made starting points:- Business Proposal — executive summary, problem statement, solution, pricing
- Technical Documentation — API overview, authentication, endpoints, examples
- Project Report — introduction, methodology, findings, conclusion
- Project Plan — timeline, milestones, risks, resources
Writing styles
Organization switcher
If you belong to multiple organizations, use the organization switcher at the top of the workspace to switch between them.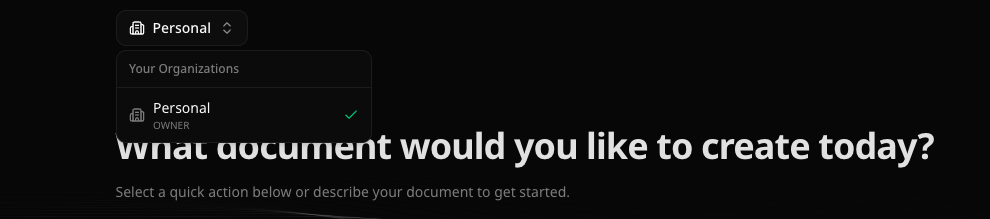
Projects & documents
Autype organizes content in a two-level hierarchy: Projects contain Documents.Projects view
When no project is selected, the workspace shows your projects in a compact list by default. Last modified reflects the newest document change inside each project, not only the project record itself.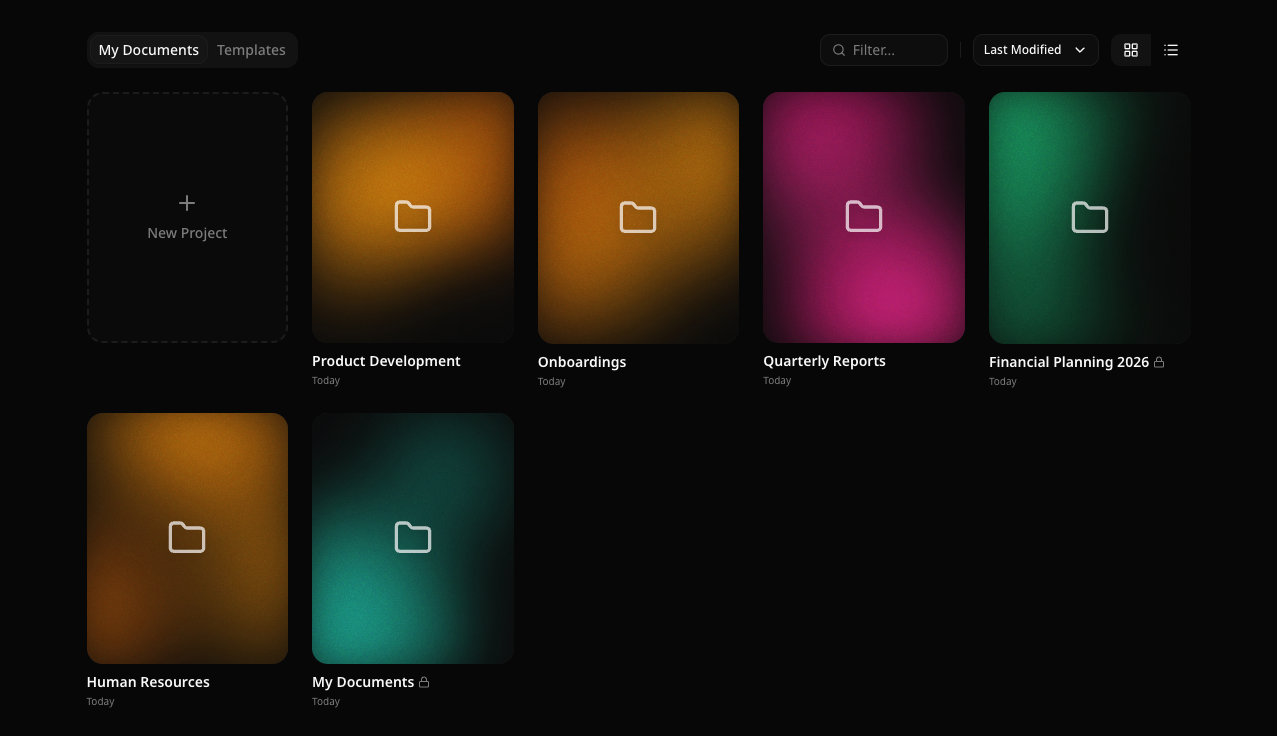
- Project name
- Last modified date
- Lock icon for private projects
Creating a project
Click the ”+ New Project” card to create a new project.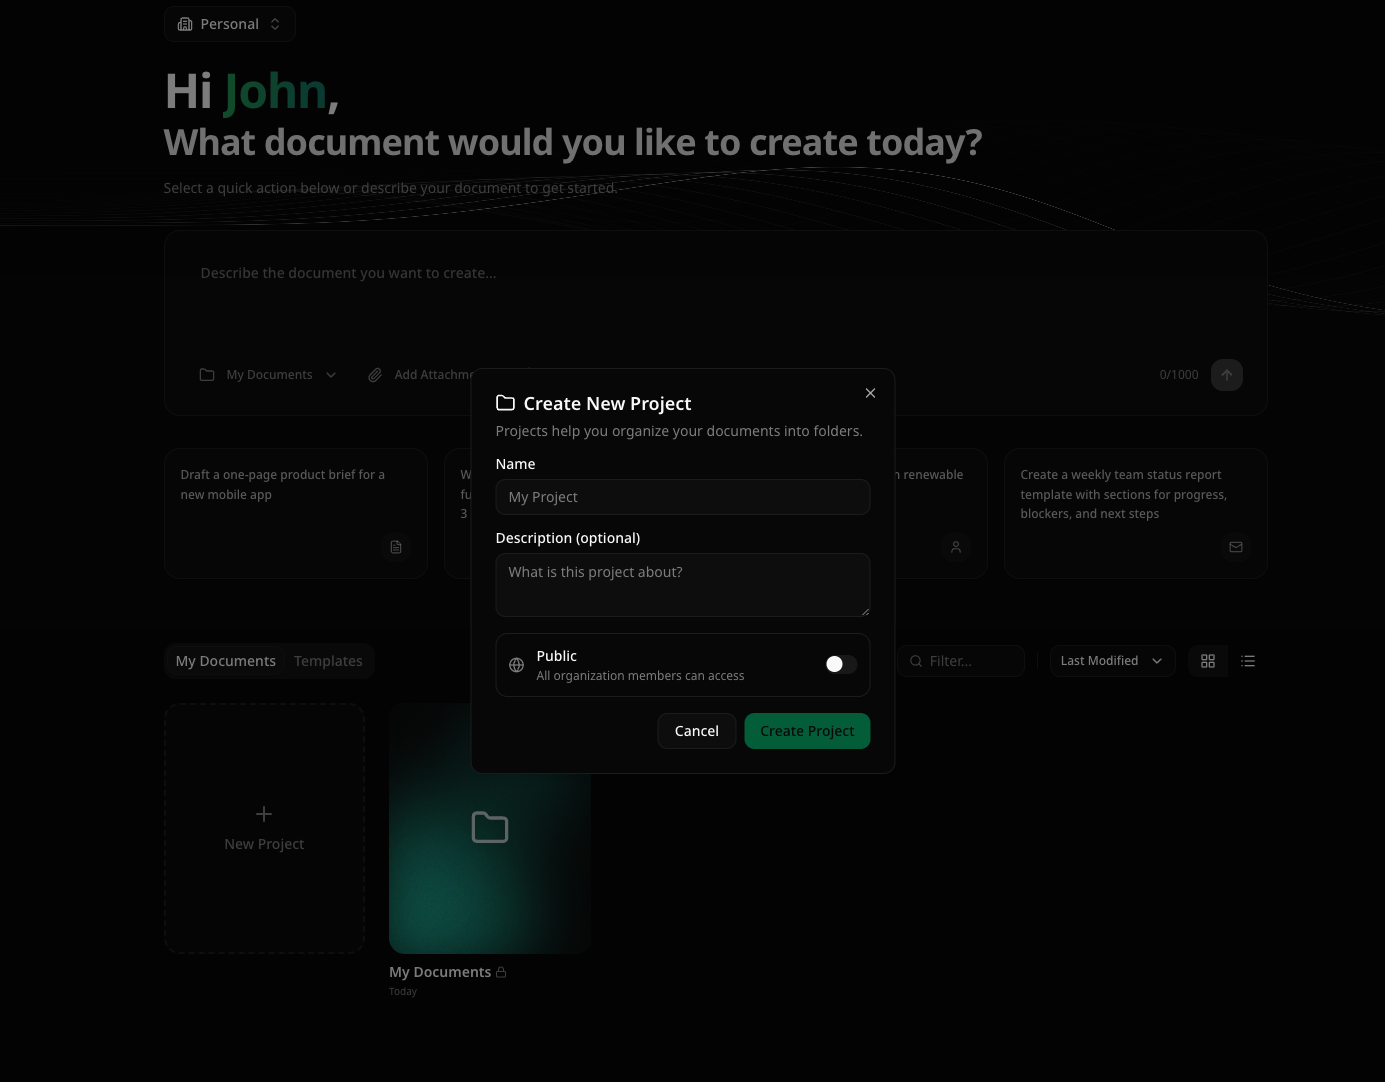
Project actions
Open the ⋯ menu for a project to:- Rename the project
- Delete the project (and all its documents)
Documents view
Click a project to see its documents. A ”← Back to Projects” button appears at the top.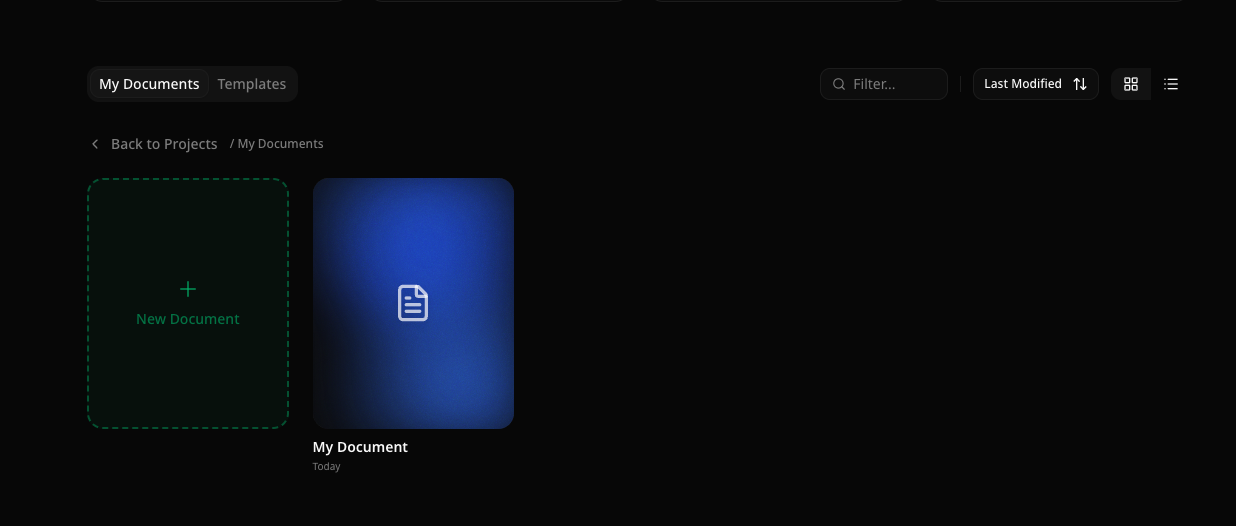
Creating a document
Inside a project, click ”+ New Document” to create a blank document.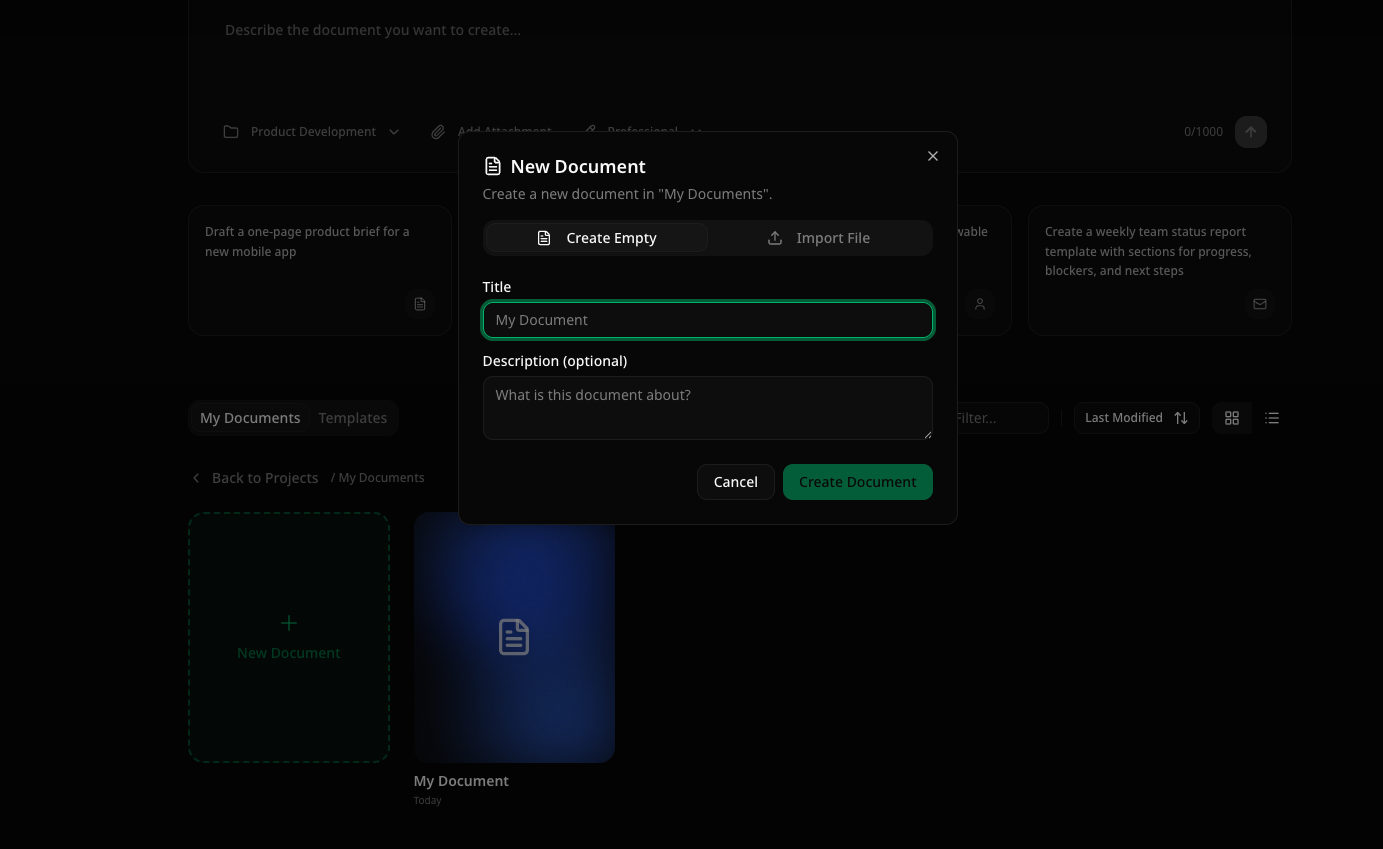
- Import an existing
.audfile (Autype’s native format) - Import a PDF, DOCX, or ODT file. DOCX uses the validated editable roundtrip importer; any unavoidable normalizations are reported after import.
Document actions
Hover over a document card and click the ⋯ menu to:- Rename the document
- Duplicate the document
- Download the
.audfile - Delete the document
Tabs: Documents & Templates
The workspace has two tabs:Templates
Templates are public starting points that anyone can browse. The template grid uses cached first-page previews so large catalogs remain fast to scan. Open Details to inspect the complete rendered PDF, page count, category, and template information. Use template copies the template into a project as a normal document that you can edit independently. Template owners can upload or update templates. Autype renders the full PDF and regenerates the cached preview when the template source changes; existing document copies are unaffected.Search, sort & view modes
Search / filter
Use the search field in the controls bar to find documents across projects. When the query is empty, the projects list is shown. Search and filters are applied server-side before pagination, so matches are not limited to the currently loaded page. Inside a project, the same control searches that project’s documents.Sort
Click the sort dropdown to order items by:- Last Modified (default)
- Name
- Date Created
View modes
Toggle between two view modes using the icons in the controls bar: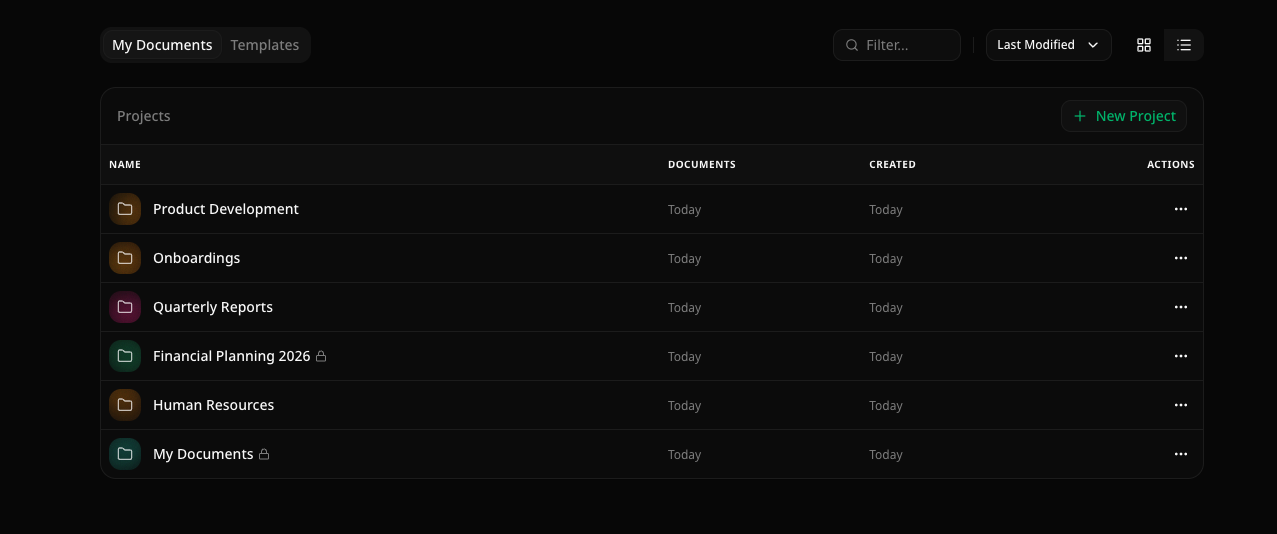
Sidebar & navigation
The workspace sidebar (visible on desktop) provides quick access to:- Workspace — return to the main workspace
- Settings — open the settings modal
- Theme toggle — switch between light and dark mode
- User menu — profile, sign out