Open settings by clicking your user icon in the sidebar. The settings modal has five tabs.
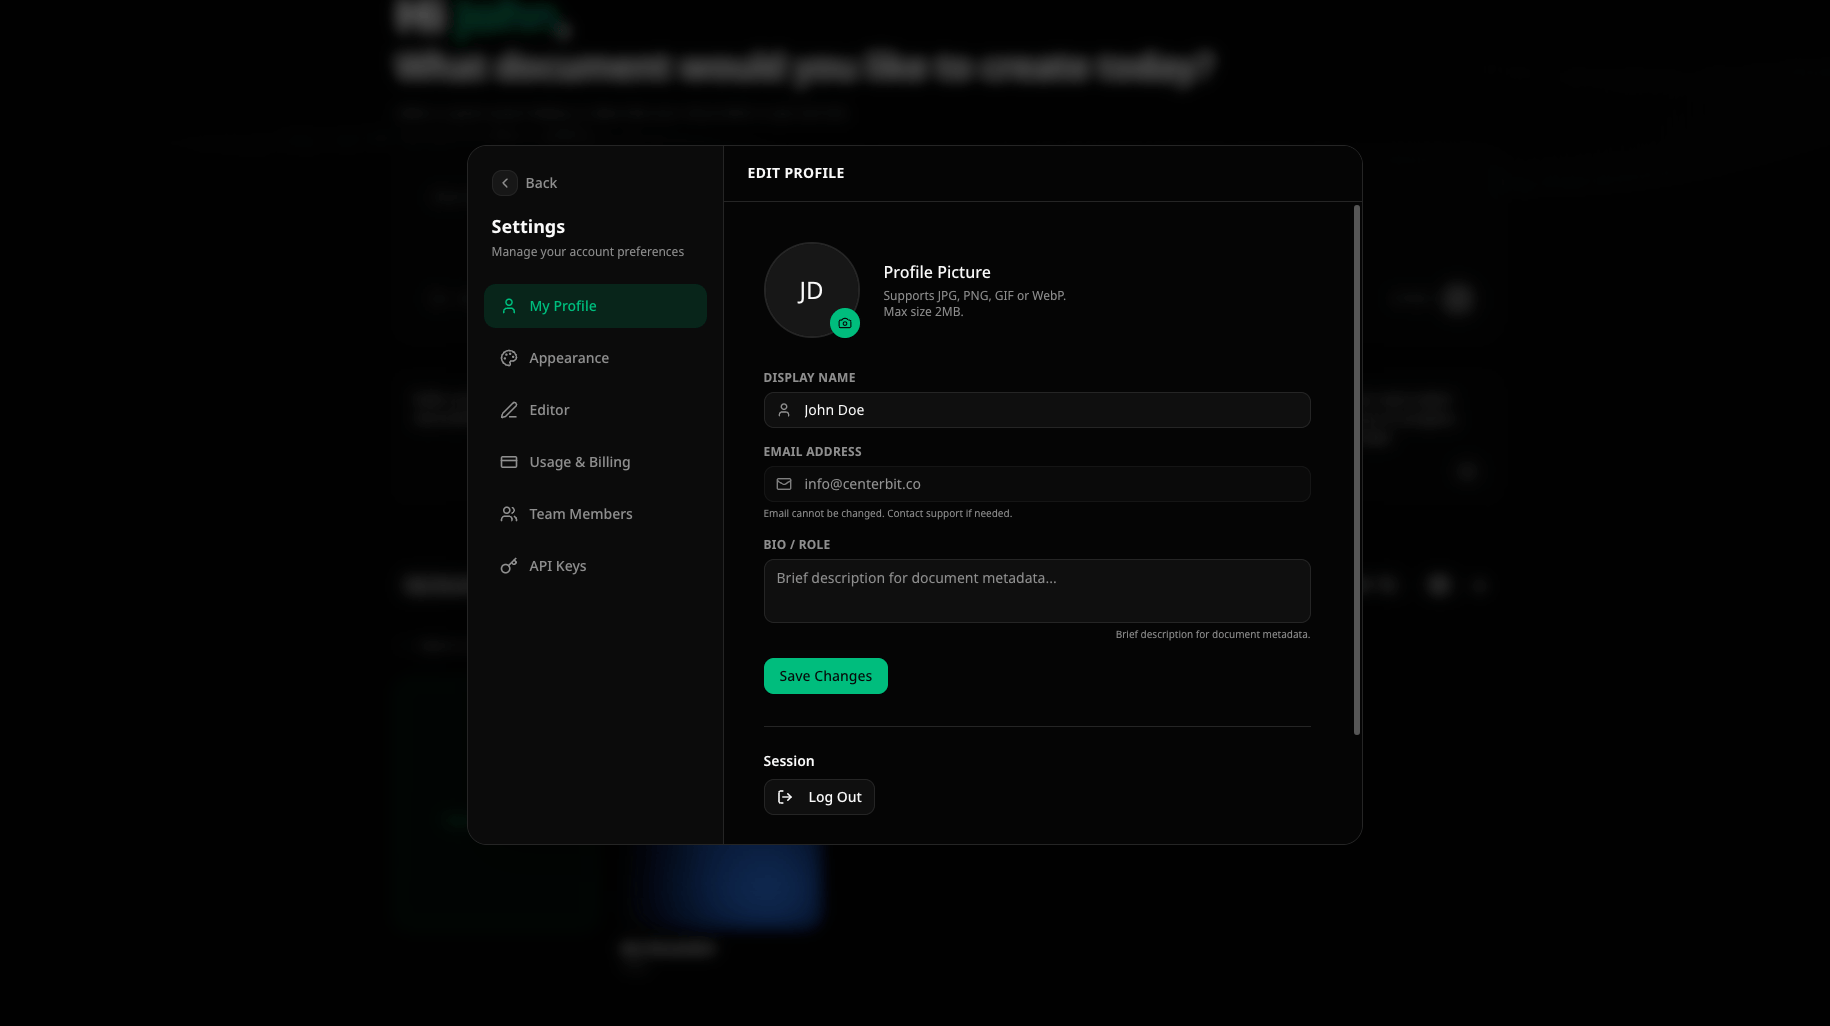
Profile
Manage your personal account information.
| Field | Description |
|---|
| Profile Picture | Upload a JPG, PNG, GIF, or WebP image (max 2 MB). Click the camera icon on your avatar to change it. |
| Display Name | Your name shown in documents and to collaborators |
| Email Address | Read-only. Contact support to change your email. |
| Bio / Role | Brief description used in document metadata (e.g., author role) |
- Log Out — end your current session
- Request Account Deletion — permanently delete your account and all data (sends an email to support)
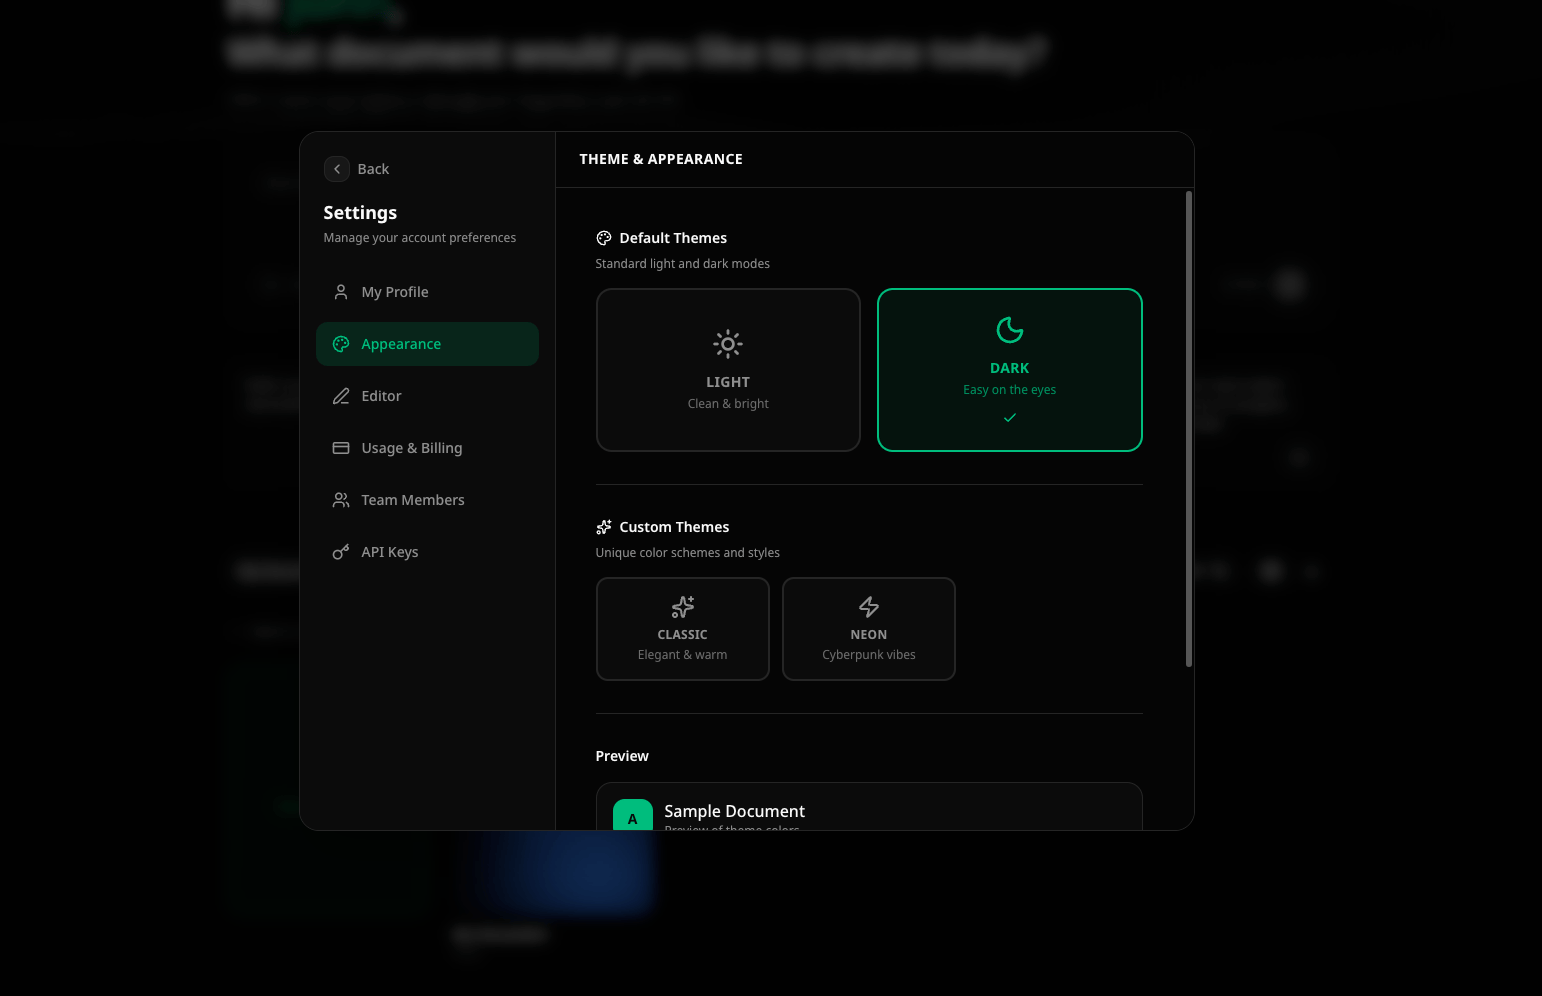
Appearance
Choose the visual theme for the Autype interface.
Default themes
| Theme | Description |
|---|
| Light | Clean & bright — white backgrounds, dark text |
| Dark | Easy on the eyes — dark backgrounds, light text |
Custom themes
| Theme | Description |
|---|
| Classic | Elegant & warm tones |
| Neon | Cyberpunk-inspired vibrant colors |
The theme setting applies to the Autype interface only. It does not affect the styling of your exported documents.
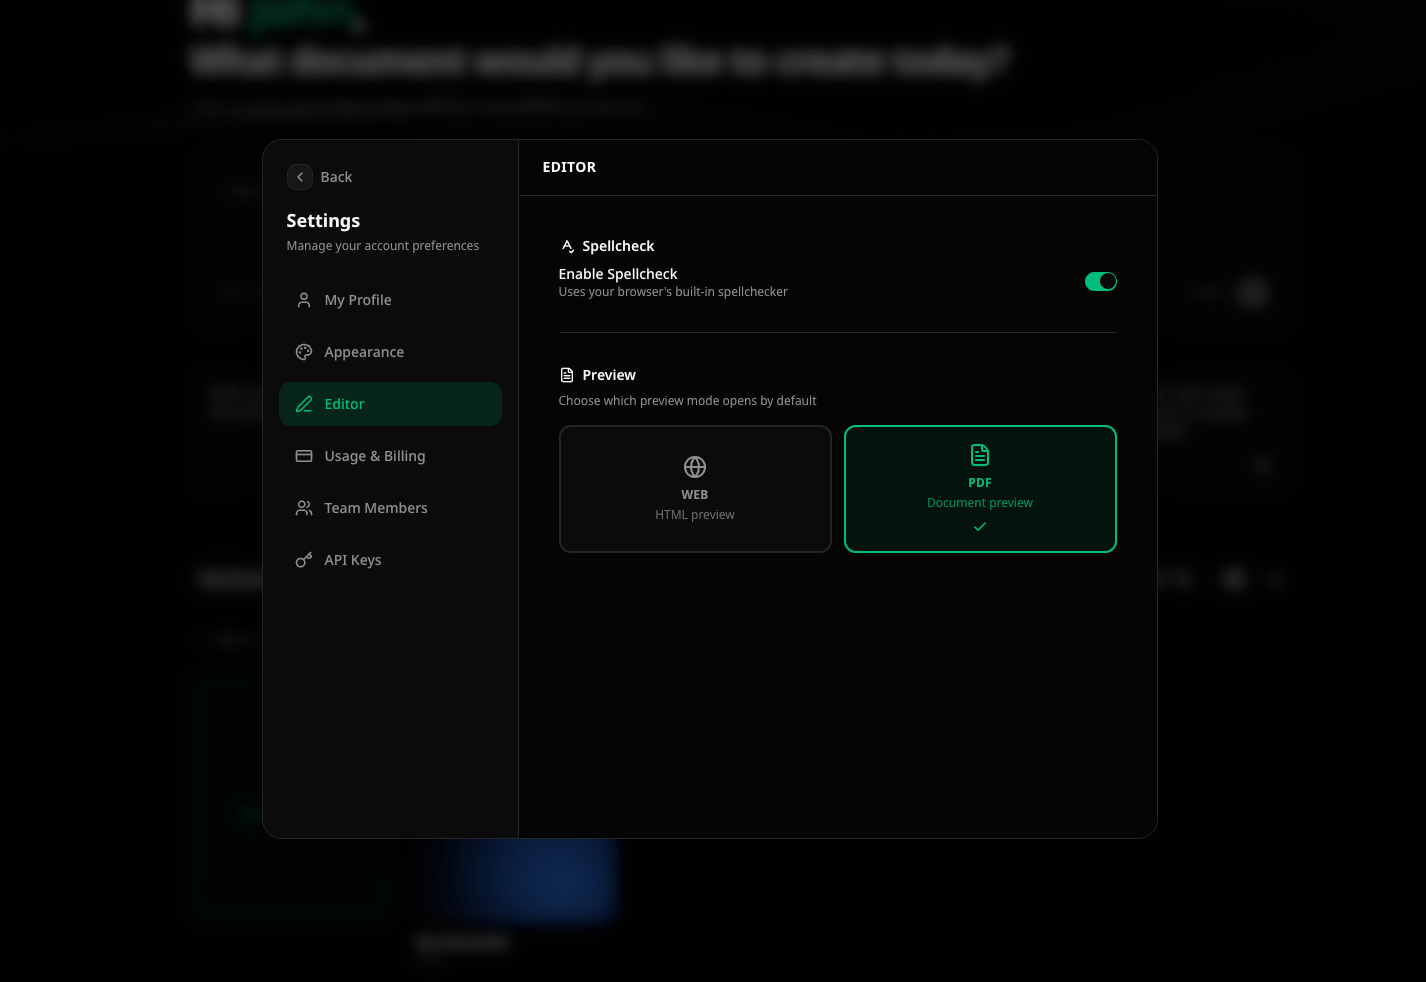
Editor
Configure editor-specific behavior and defaults.
Spellcheck
Enable or disable the browser’s built-in spellchecker for the Markdown editor. When enabled, misspelled words are underlined directly in the code editor.
| Option | Description |
|---|
| Enable Spellcheck | Toggle the browser spellchecker on/off in the Markdown editor |
Default preview mode
Choose which preview mode opens by default when you open a document:
| Mode | Description |
|---|
| Web | HTML preview — fast, instant updates as you type |
| PDF | Document preview — exact page layout with margins, headers, and footers |
Team Members
Manage who has access to your organization.
Team management is only available on the Team plan and above. On Free and Pro, only the organization owner has access.
Organization ownership
Currently, each user can only own and manage one organization. This is due to how billing is structured — the organization owner is responsible for the subscription and all credit usage within the organization.
However, a user can be a member of multiple organizations and switch between them freely. Management capabilities (billing, member administration) are limited to the organization the user owns. Full multi-organization management is planned for Q2 2026.
Inviting members
- Enter the email address of the person you want to invite
- Select their role: Admin or Member
- Click “Send Invite”
The invited person receives an email with a direct link to join your organization. Once they accept, they can immediately start working within the org. All AI features and credit usage consumed by invited members are billed centrally through the organization owner’s subscription.
Roles
| Role | Permissions |
|---|
| Owner | Full access, billing, delete organization. Cannot be changed. |
| Admin | Manage members, projects, and settings. Cannot manage billing. |
| Member | Create and edit documents within assigned projects. |
Managing members
Click the ⋮ menu next to a member to:
- Change role — promote or demote between Admin and Member
- Remove — revoke access to the organization
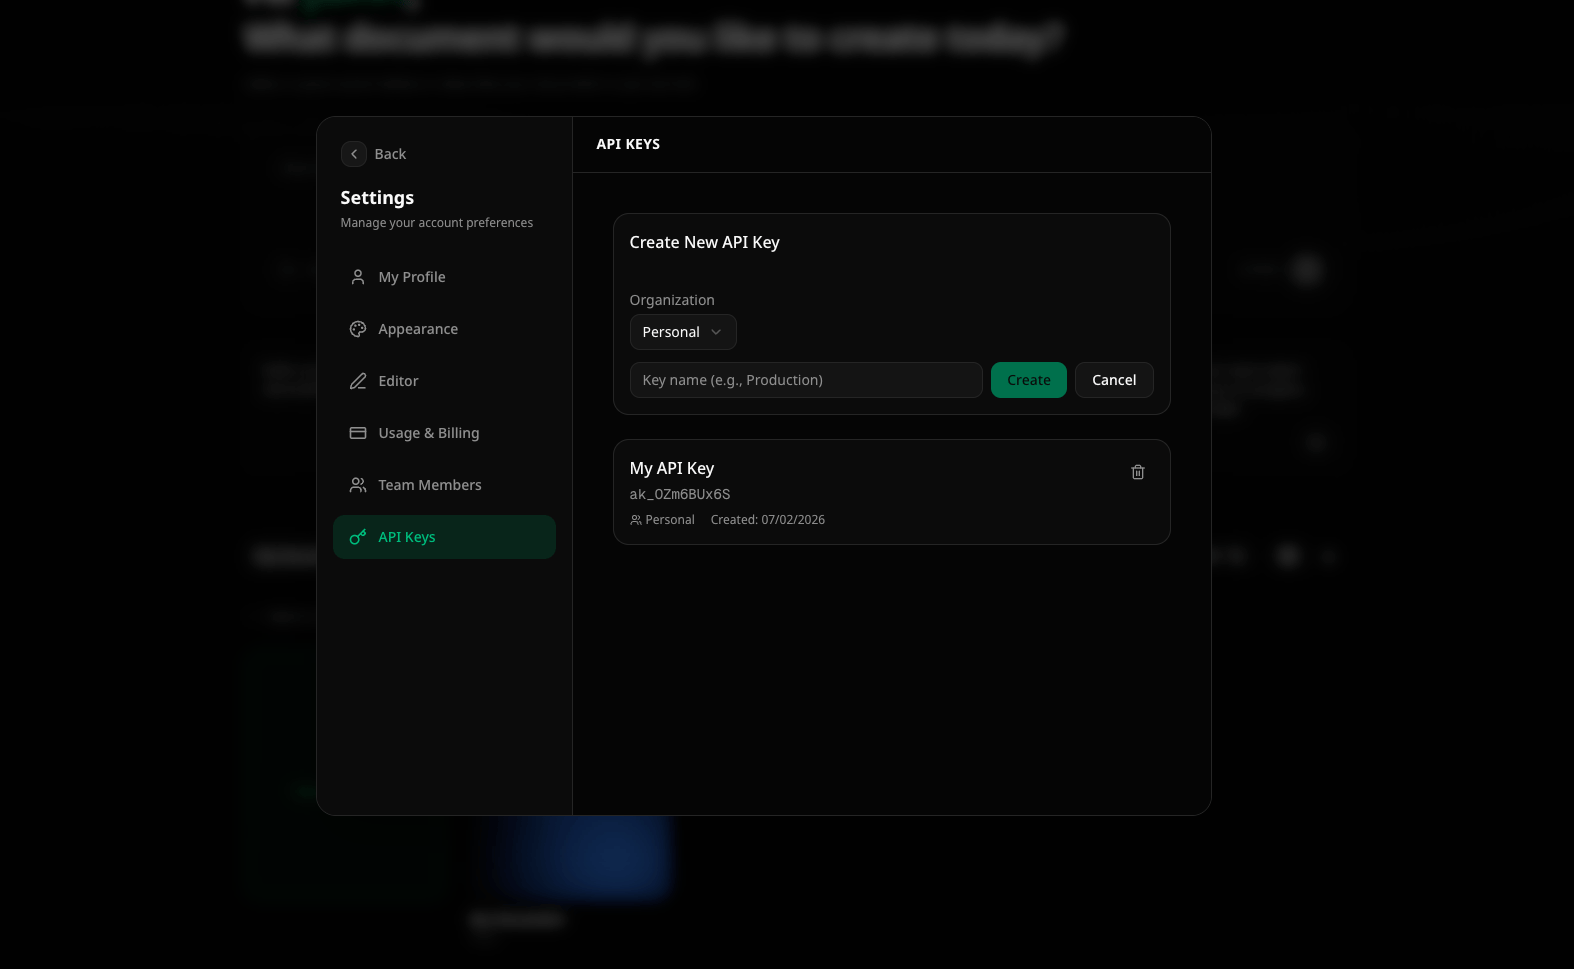
API Keys
Create and manage API keys for programmatic access to Autype.
API keys are scoped to a specific organization. If you are a member of multiple organizations, you can create separate API keys for each one. Select the desired organization before creating a key.
Creating an API key
- Select the organization the key belongs to
- Click “Create API Key”
- Enter a name for the key (e.g., “Production”, “CI/CD”)
- Select the scopes (permissions) the key should have
- Optionally set an expiration date
- Click “Create”
The full API key is only shown once after creation. Copy it immediately and store it securely. You will not be able to see it again. If you lose the key, you must delete it and create a new one.
Managing API keys
Each key shows:
- Name and key prefix (first characters for identification)
- Scopes — which operations the key can perform
- Created date and last used date
- Expiration — when the key becomes invalid (if set)
Click “Revoke” to permanently disable a key.